1. What you need
- Question sheets: plenty of copies of the Easy, Medium and Hard mazes in one theme (“Download question sheet” on each maze page, A4).
- Answer sheets: one per theme for the teacher, kept at a checking table.
- Pencils, colored pencils and crayons. Chunky crayons for ages 4–5; a pencil for Hard.
- For making mazes: 1 cm grid paper or A4 sheets with a 6 × 6 grid drawn in advance, and start and finish stickers.
- For solving together: a computer and a TV or projector, or a single tablet.
2. The 30-minute plan
- 0–5 minutes, open with a story: introduce today’s theme, for example “The space rocket is stuck in a planet maze. Can we find the way back to Earth?” Hand out the sheets and point to the green start and the red finish together.
- 5–15 minutes, solve at your level: everyone starts with Easy; children who finish check with the answer sheet and take the next level. When a child is stuck, ask “Where was the last junction?” rather than giving the answer.
- 15–20 minutes, solve together: put a maze on the big screen and let children come up to draw one stretch each, or have the group call out “Up, right!” while the teacher moves with the arrow keys.
- 20–30 minutes, wrap up: older children make their own maze on grid paper and swap with a partner; younger children color a page that goes with the maze character.
3. Handing out one theme at different levels
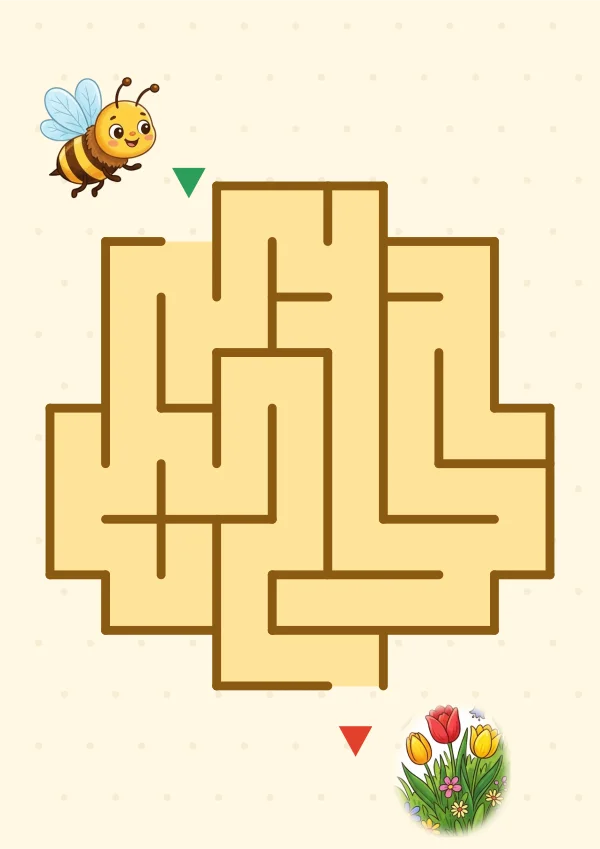
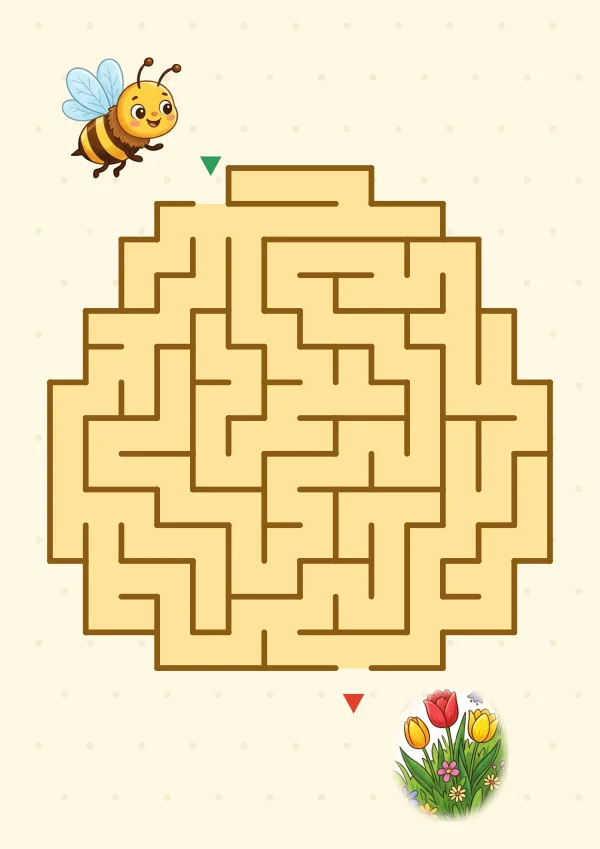
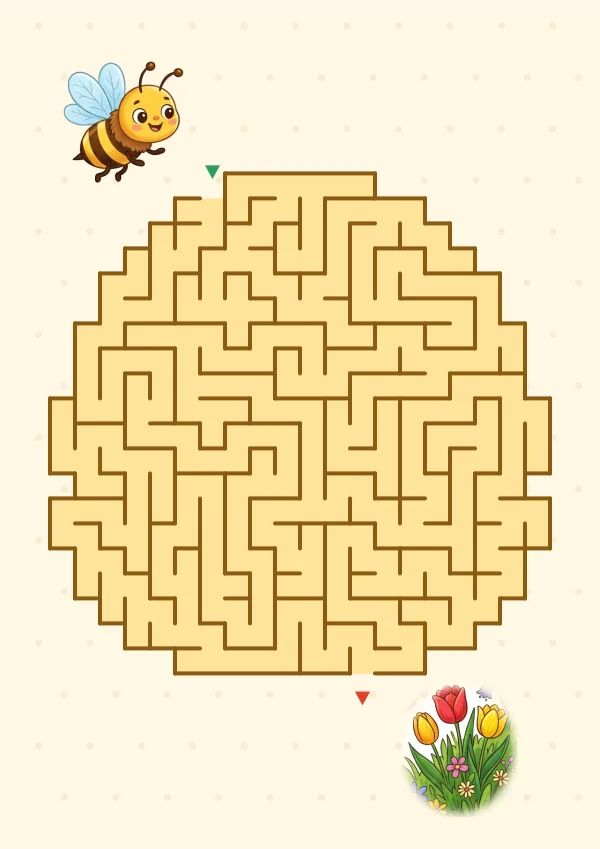
When a class mixes first-timers with children who know mazes well, a single maze is too easy for some and too hard for others. Handing out the three levels of one theme gives everyone the same picture and story to talk about, while the difficulty fits each child.
If children who finish check their answer and then collect the next level, fast finishers can keep going without waiting. The three levels of the Honeybee Hive Maze are collected at the end of this guide.
4. Adjusting by age
- Around age 3: following the path with a finger and putting stickers on the start and finish is plenty. Try the on-screen maze together with a finger.
- Ages 4–5: Easy mazes with chunky crayons. Pause together at each junction and ask “Which way?”
- Ages 6–7: Medium mazes, then check with the answer sheet. Focus on reaching the finish rather than on speed.
- After-school, ages 8+: Hard mazes and making your own. Solve a partner’s maze and check that it has only one path.
5. Make your own maze on grid paper
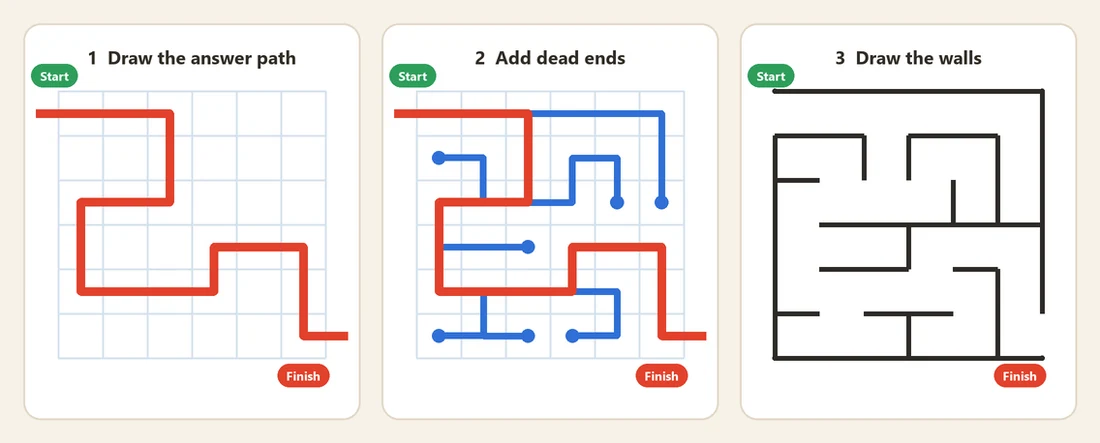
Our mazes are made by a computer that “digs a path, and when it gets stuck, backs up and digs in another direction.” Children can make a maze on paper in a similar way. A 6 × 6 grid is a good size to start.
- 1. Mark a start cell and a finish cell, then lightly draw the answer path between them in pencil. Make it turn a few times rather than going straight.
- 2. Add 4 to 6 dead ends branching off the answer path. If a dead end joins the answer path or another branch again, the maze will have two paths, so make every branch end in a dead end.
- 3. Check that every cell is on some path, then draw a wall in marker between every pair of cells that are not joined by a path. Leave the walls open at the start and finish.
- 4. Erase the pencil lines and you have a question sheet. Swap with a partner and solve.
6. Give-directions partner game
In pairs, one child looks at the answer sheet and gives directions in words only, such as “down two, right one,” while the other draws on the question sheet. Swap roles at the finish.
The game puts direction words (up, down, left, right) and counting to use together. For children still mixing up left and right, a sticker on the right wrist (“the sticker side is right”) helps.
7. Linking mazes to theme lessons
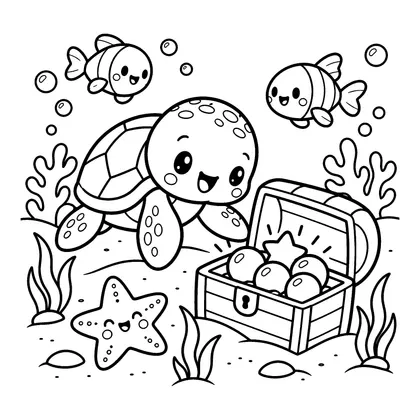
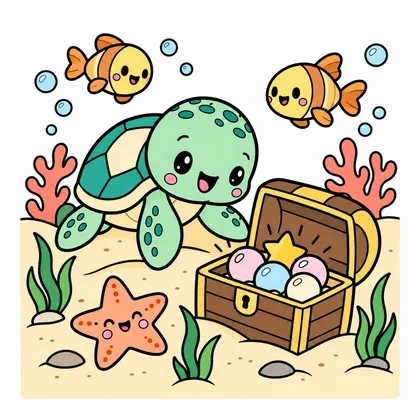
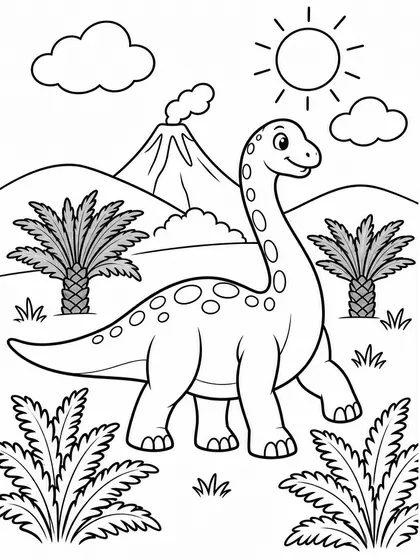
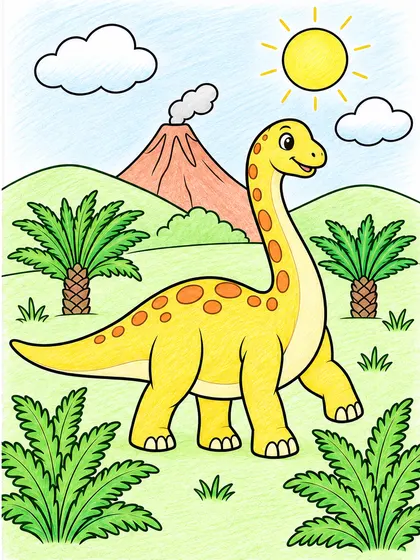
Each maze theme has a matching coloring series. Follow on as below, and pair them with our guides to a half-day dinosaur lesson, a sea animal week or picky-eating activities to build a full theme day.
- Honeybee Hive and Flower Garden mazes: spring flowers and insects, cute animal coloring pages
- Bunny Carrot Maze: talking about vegetables and picky eating, food coloring pages
- Space Rocket Planet Maze: the names of the planets, solar system coloring pages
- Sea Turtle Reef and Yellow Submarine Treasure mazes: a sea animal week, sea animal coloring pages
- Baby Dino Egg Maze: a dinosaur lesson, dinosaur coloring pages
Try the mazes from this guide
Open a maze to download its question and answer sheets, or press Play to solve it with a stylus or finger in a new window.
Coloring pages to go with the mazes
FAQ
Children work at very different speeds.
Fast finishers can check their answer and take the next level, or make their own maze on grid paper. For slower children, finishing one Easy maze is plenty.
Some children want to look at the answer sheet first.
Keep answer sheets on the teacher’s desk or a checking table, and hand them out only to children who have finished. If a child is stuck, fold the answer sheet and show just the part near where they are.
How can I print fewer copies?
Laminate the sheets or slip them into clear sleeves and use whiteboard markers, so they can be wiped and reused. For black-and-white printing, the mazes with light paths (Flower Garden, Sea Turtle, Bunny Carrot, Baby Dino, Honeybee) show up best.
What do I need to solve a maze together on screen?
Connect a computer to a TV or projector. Press Play on a maze page and turn on Full screen to show just the maze, nice and big. On a large touch screen, children can come up and draw with a finger.
Making a maze is too hard for some children.
Shrink the grid to 4 × 4, draw the answer path for them, and let them add only the dead ends.